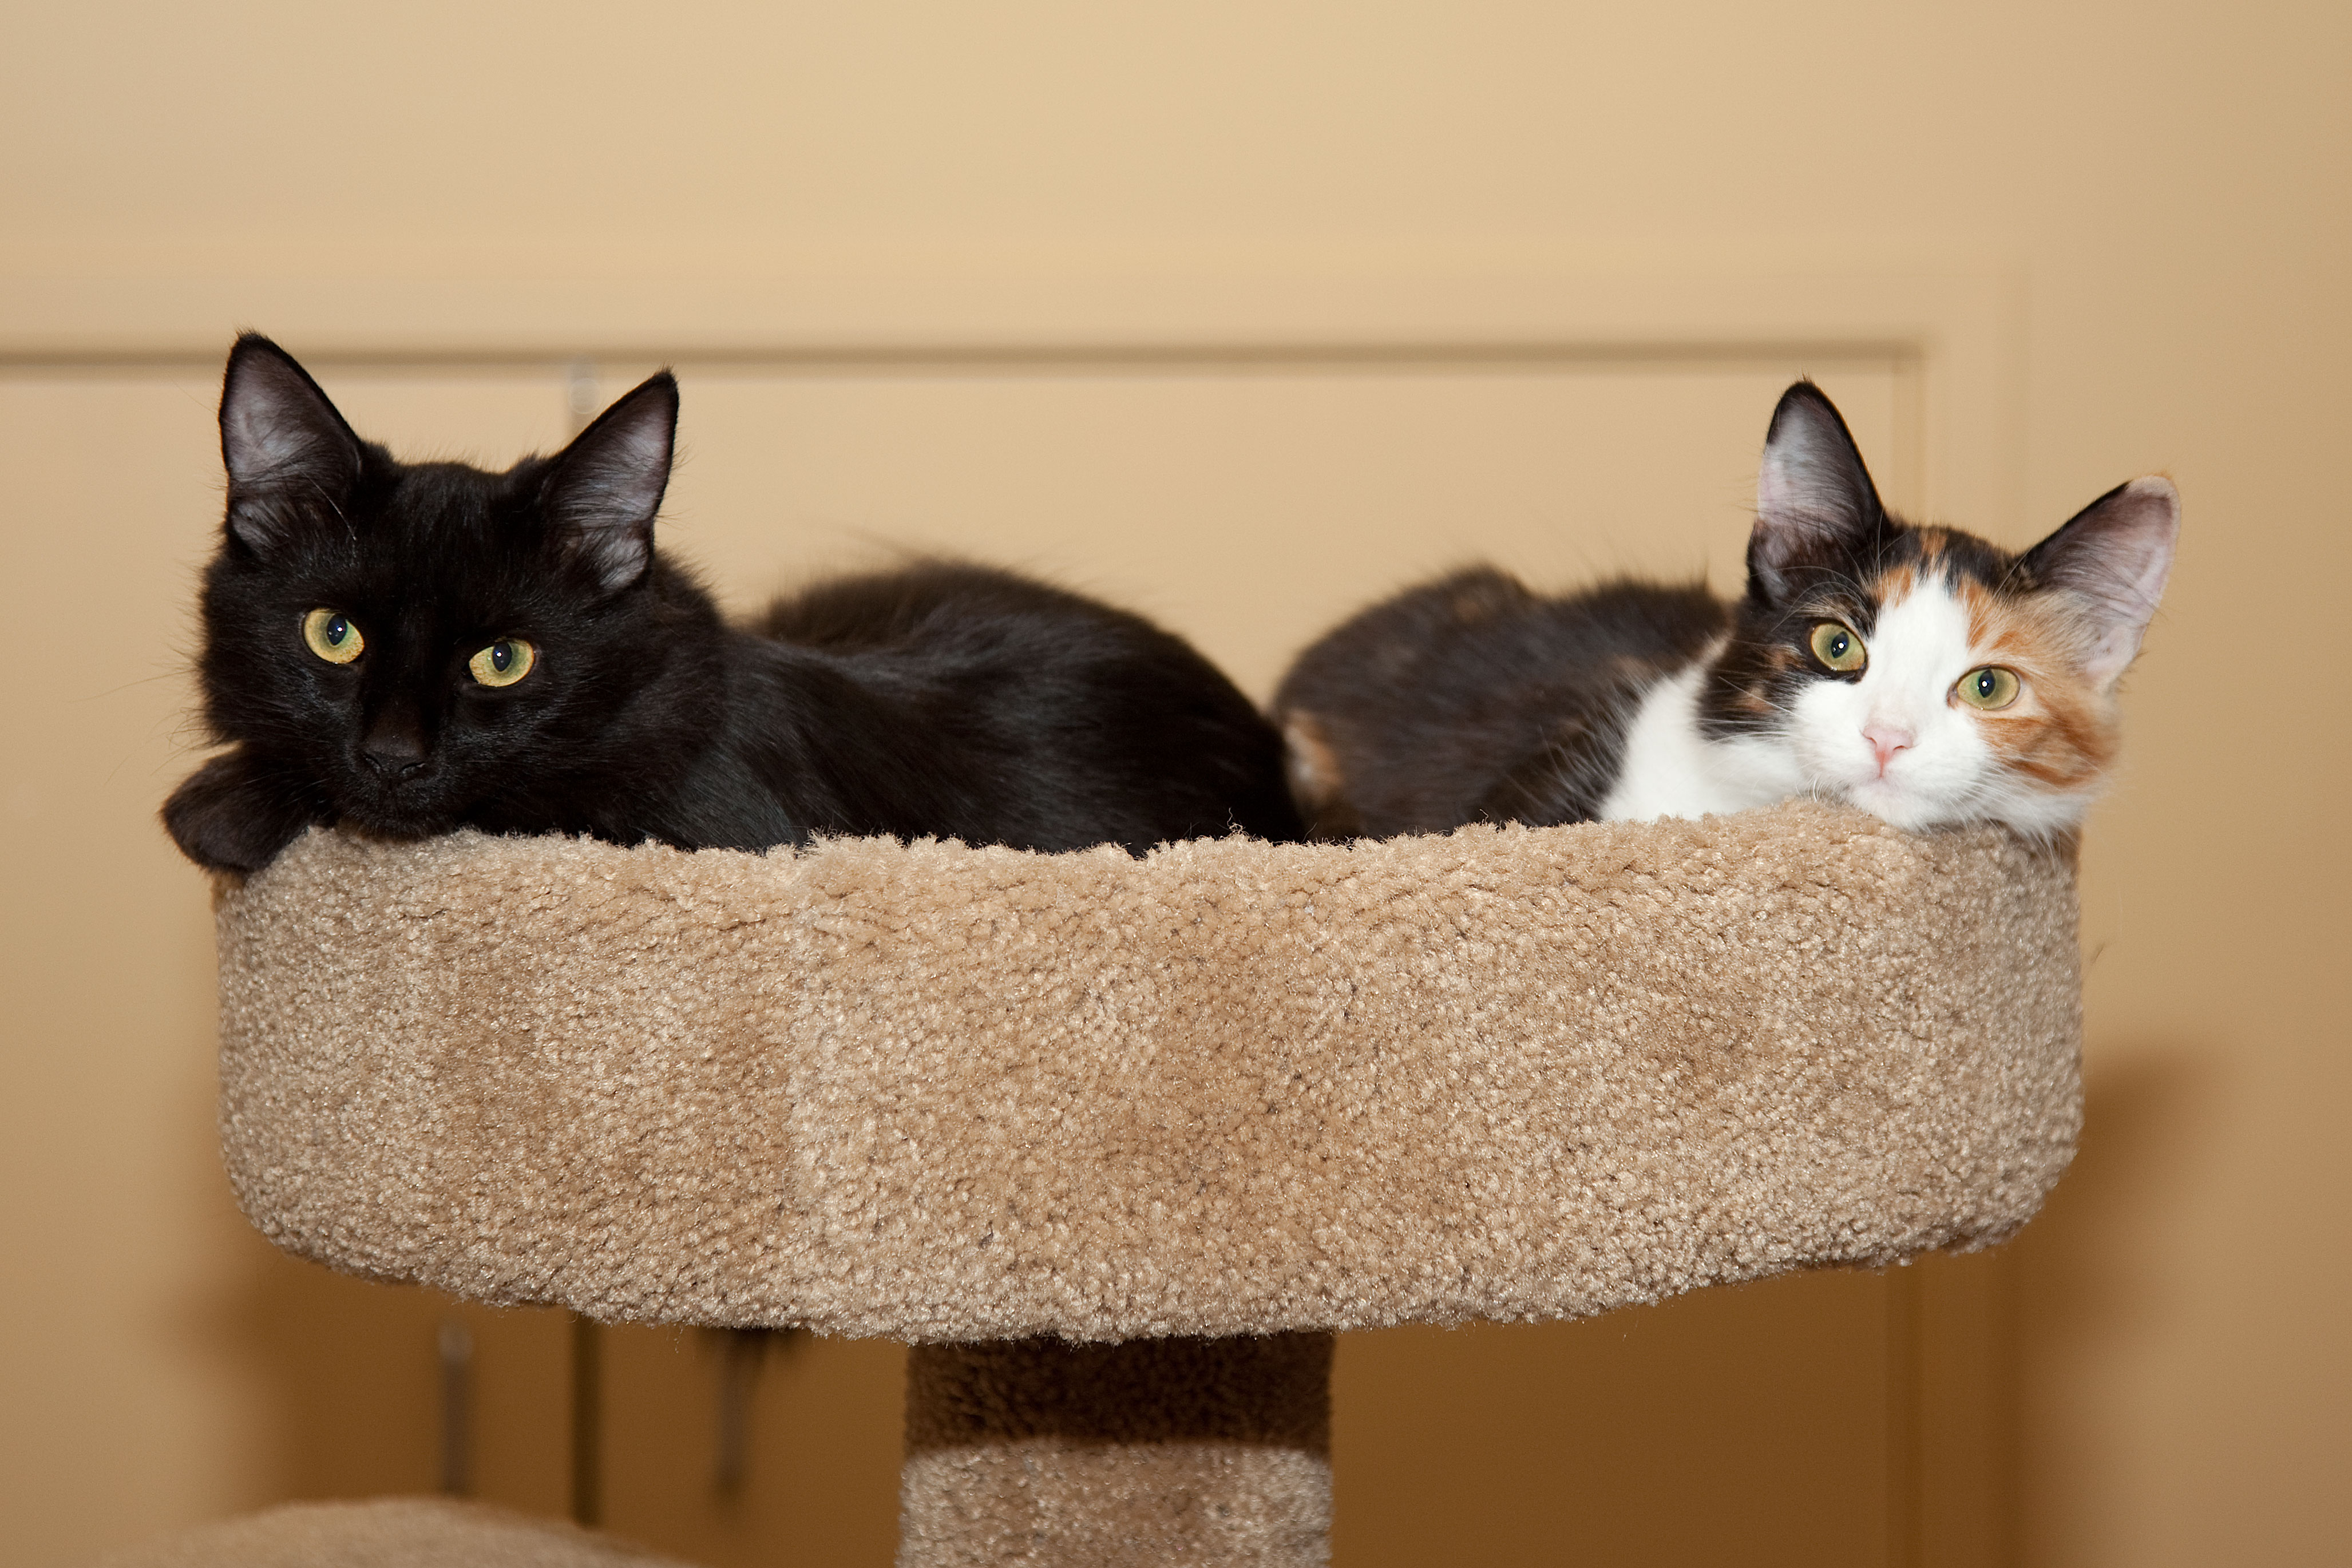
I have new kittens!
I’m not normally one of those people who takes hundreds and hundreds of pet photos, but I’m not completely immune either. This evening I turned around and saw them sitting on top of the cat tree looking utterly adorable. I also happened to have my 5D Mark II sitting on my desk, with a 580EX flash and a Sto-Fen Omni-Bounce diffuser attached.
If you’ve ever been around kittens, you know that they’re not terribly prone to sitting still for very long. I slapped the camera into P mode, turned the flash on, and started shooting. After a few shots, I looked at one of the images:

Yuck! Underexposed. I’d put the camera into P mode because I was in too much of a hurry to think about the proper settings for flash (which I almost never use), but I’d forgotten that the diffuser I was using steals light. You know how frosted glass doesn’t let as much light through as clear glass? The same thing happens with the translucent plastic of the flash diffuser. It does a great job of softening the harsh light of a flash, but it also means that your images will be underexposed if you don’t do something about it.
The kittens were staying put, so I had time to shoot a few more, but I wanted to get a better exposure. I knew from experience that the diffuser reduces light by about one stop, so I used the exposure compensation setting on the camera to overexpose the image by one stop. Actually, I screwed up and set it for one and a third stop of overexposure rather than one stop, but I didn’t notice that until later. The results, while not perfect, were appreciably better:

If you look at the full-size version of the image, you can see that there’s actual definition in the black fur. The white fur is a little bit blown out, but the net result is better than the first one. I could fix both of these to some extent in Photoshop, but it’s better to get it right in the camera. I haven’t adjusted the exposure of either of these, though I did crop them and sharpen the second one a bit.
So what is this exposure compensation thing?
Well, we already know that in most modes, including program, aperture priority, and shutter priority, the camera uses its meter to evaluate the image and then picks an exposure based on it. In manual mode, you do this yourself, though you usually use the meter as a guide. The camera does this by looking at the average brightness of the image and then picking an exposure that will best capture it. When using automatic flash, the camera also tells the flash unit how bright it should be. This often works very well, but in my case I knew something that the camera didn’t– there was a diffuser on the flash.
Exposure compensation tells the camera that it should overexpose or underexpose an image by a certain amount. In my case, what I said to the camera was, “Hey, camera. Make your best guess about the exposure, and then add one stop to it.” I did this by changing the exposure compensation setting to +1 rather than 0. Doing that allowed the camera to correct for the diffuser, and get a better-exposed image.
The exposure compensation on your camera looks something like this:
-2..1..0..1..+2
       ^
What you’re seeing is a representation of the camera’s meter, and an indicator underneath it showing what the compensation should be. When the arrow is under the zero, the camera will pick the exposure it thinks is right. However, when it looks like this:
-2..1..0..1..+2
          ^
the camera will add one stop to the exposure it thinks is right, resulting in a brighter image. If the arrow was under the 1 on the left, the camera would subtract one stop and the result would be a darker image.
Exposure compensation is useful if you know that the camera is going to predictably underexpose or overexpose an image. This might happen if you’re shooting with a very light background like snow, or a very dark background like a dark theater. There are lots of other cases where it can happen as well.
Oh! One other thing. Sometimes people discover that their camera is suddenly making all of their pictures too dark or too bright. They wonder what’s wrong, and think their camera is broken. What has usually happened is that they’ve accidentally set the exposure compensation, and the camera is doing exactly what it was told to. Also, don’t forget to set it back to zero when you’re done, or your next shoot will have lots of over- or underexposed image.
I hope this helps explain the basics of exposure compensation.
And yes, yes. I really did admit to using P mode on my dSLR. As I said above, I didn’t want to think about the right settings for the flash. I was in a hurry, because I wanted to catch the kittens before they moved. Plus, I wasn’t really aiming for super high-quality images– in essence, I used four thousand dollars worth of equipment as to grab a quick snapshot. P is only bad when it’s used for everything, or used without forethought or understanding of its weaknesses.


Nice series, Patti.
I would argue, however, that it’s not the StoFen diffuser that is to blame for the underexposure in your first image.
Virtually all cameras and flashes made in the last thirty years use a photo cell to read the light reflected back from the subject and to modulate the power of the flash (i.e., cut the current to the flash tube off early when enough light has returned to the camera/flash position to make what it judges to be a correct/average exposure). Nowadays this is done “through the lens” (TTL) with “dedicated” flashes; previously it was accomplished with a sensor on the flash itself. In this sense, therefore, your camera/flash circuitry *IS* aware of the diminished light output owing to the OmniBounce diffuser.
I would maintain that the underexposure is due to the predominantly light-toned background wall, and the similarly light-toned carpeting on the cat tree. As you well know, cameras aren’t telepathic. And they can’t select the “best exposure” [sic] for every scene — precisely because a camera can’t possibly know how the scene is *supposed* to look. It can’t know if you’re pointing the camera at a blonde, Caucasian bride in a white dress against a white background, or a black cat in a coal bin. So cameras are engineered to select average exposures that yield average images of average scenes. When a scene is no longer average (e.g., a snow scene or a black cat in a coal bin), the image will be under- or over-exposed respectively.
In short, I think your camera/flash was properly attempting to make the first image come out “average” — which is darker than the lighter-than-average tone that predominates in the real scene. (Plus, ALL my canon DSLRs and Speedlites — 20D, 5D, 1D Mk II, 580EX — tend to underexpose slightly when left to their own devices.)
I have some handouts from classes that I teach that I would be willing to share. Like your series, they explain exposure, white balance and other technical topics in decidedly non-technical language. Let me know if you’re interested?
Best,
Brand
Everything you say seems reasonable to me. Flash is not my area of expertise, and I was thinking more about how to solve the problem than about the details of what caused it.
I just tried an experiment, though. I put an 18% gray card against the yellow wall, and took two pictures that were as close to identical as possible. On one, the Omni-Bounce was on the flash:
And the other, essentially-identical shot, was done without:
I’ve done a little bit of post-processing on those, but nothing that would alter the exposure. I just resized them and added Lightroom’s histogram to the bottom right corner. The EXIF data didn’t make it through, but they were both taken at f/4 and 1/60, ISO 200. Empirically, it seems that the diffuser does seem to cause some underexposure.
The camera was in manual mode, using 1/60 @ f/4? What mode was the Speedlite in? ETTL-II? Or manual?
The OmniBounce will certainly diminish the light output of the flash a bit. But the ETTL-II circuitry *should* experience/perceive that reduction and cause the flash to fire a bit longer/brighter.
I’ll think about this a bit more; but off-hand I can’t explain the difference — *IF* the flash was properly operating in ETTL-II mode.
What I get from this is that using exposure compensation is for when you are allowing the camera to make some choices for you. Up to this point, I’ve been seeing what the camera would pick, then switching to manual and making my own adjustments. I guess once you are comfortable with how to use exposure adjustment, it would be quicker?
So what would you do to make the 2nd picture perfect? If opening one stop let too much light in, how do you fix that (in the camera)?
If one stop is too much, I’d use 2/3 stop, or 1/3 stop.
Oh. My. God. One of your cats is a smiler! I’m sure I need not say this, but, it’s the one on the right. He’s sporting a somewhat snarky smile, but it’s a smile nonetheless! I’m new to your site and plan on digging through the archives.
I’m assuming P mode on your dslr is auto?
That’s Peek on the right, and she’s pretty cute. Boo is on the left. (Yes, they’re cheezy names… I accept full responsibility.)
P is a slightly less auto version of auto. Green box is 100% auto.
What I see as causing the major change in exposure is the black cat. In the second photo, there was much more black that was factored in by the sensor due to the black cat exposing more of it’s body. So, given the now increase amount of darkness, it did a great job exposing the black and gray of the cats.
Dave
Yeah, a little bit, but that’s really a second-order effect at most. Changing the exposure compensation (which I did between the shots) is responsible for almost all of the difference. I increased the exposure compensation by 1 1/3 stops, and that’s pretty much exactly the difference in exposure between the two shots.